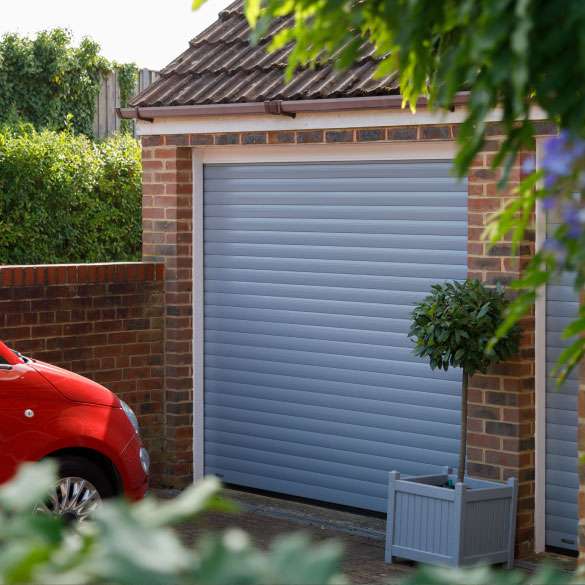
Replacing a garage door may seem daunting, but with the right guidance and tools, it’s a manageable task. Whether your door is outdated, damaged, or no longer functioning efficiently, a new garage door can enhance your home's curb appeal, security, and energy efficiency. This step-by-step guide walks you through the process of replacing your garage door safely and effectively.
Why Replace Your Garage Door?
Garage doors endure wear and tear over time. Replacing your garage door can offer numerous benefits, including:
- Improved energy efficiency with insulated models.
- Enhanced security to protect your property.
- Boosted curb appeal and property value.
- Smoother operation with modern mechanisms.
For expert advice or professional installation, check out garage doors Uckfield.
Step 1: Assess Your Needs
Before purchasing a new door, consider:
- Material: Steel, wood, aluminum, or composite.
- Insulation: Single, double, or triple-layered for better energy efficiency.
- Style: Traditional, contemporary, or carriage house designs.
- Size: Measure your garage door opening accurately.
This ensures you select a door that meets your functional and aesthetic requirements.
Step 2: Gather Tools and Supplies
Here’s what you’ll need for the replacement:
- Wrenches
- Screwdrivers
- Drill and drill bits
- Pliers
- Level
- Stepladder
- Safety goggles and gloves
Ensure you have a complete garage door kit, including the door panels, tracks, springs, and hardware.
Step 3: Remove the Old Garage Door
1. Disconnect the Opener
Unplug the garage door opener and release the door using the emergency pull cord.
2. Take Down the Panels
- Start with the top panel. Remove the hinges and bolts securing it to the tracks.
- Carefully work your way down, removing each panel.
- Use a helper to support the panels as you detach them.
3. Remove the Tracks and Springs
- Detach the tracks from the walls using a wrench.
- If your door uses torsion springs, release the tension carefully to avoid injury.
Step 4: Install the New Garage Door
1. Assemble the Tracks
Follow the manufacturer’s instructions to assemble the vertical and horizontal tracks.
2. Install the Panels
- Begin with the bottom panel, ensuring it is level.
- Secure the hinges and align the rollers with the tracks.
- Add the remaining panels one at a time, attaching them securely.
3. Attach the Tracks
- Secure the tracks to the walls and ceiling using brackets and screws.
- Ensure the tracks are aligned to prevent operational issues.
Step 5: Install the Springs and Opener
1. Torsion or Extension Springs
- Attach the appropriate springs based on your door type.
- Follow the manufacturer's instructions to properly balance the tension.
2. Reconnect the Garage Door Opener
- Reattach the opener arm to the door.
- Test the opener to ensure smooth operation.
Step 6: Test the Garage Door
Open and close the door several times to check for:
- Smooth movement along the tracks.
- Proper alignment of the rollers and panels.
- Balanced tension in the springs.
When to Call a Professional
Replacing a garage door involves heavy components and intricate mechanisms. If you’re unsure about any step or encounter issues, it’s best to hire a professional. At Access Garage Doors, we offer expert installation and replacement services.
For residents in East Sussex, explore our range of high-quality garage doors Uckfield to find the perfect fit for your home.
Conclusion
Replacing a garage door is an excellent way to enhance your home's functionality and aesthetics. By following this guide, you can ensure a successful installation process. For a hassle-free experience, let the experts at Access Garage Doors handle the job for you.
Contact us today to get started on your garage door replacement journey!


