Whether you're looking to conceal pipes, improve acoustics, or simply change the aesthetic of a space, this type of ceiling offers a range of benefits. In this guide, we'll walk you through the step-by-step process of installing a suspended ceiling, ensuring that you understand what’s involved from start to finish.
If you're considering this project, partnering with PlasterX – Professional plastering and drywall work in Melbourne guarantees top-quality results. With our expertise in drop down ceiling installation we can help make your ceiling renovation smooth and efficient.
Preparation Before Installation
1. Plan and Measure the Room
Before starting any ceiling installation, it’s essential to plan and measure the room accurately. Determine the dimensions of the space and mark the points where the grid will be installed. Measure the distance between the ceiling and the desired height for your drop down ceiling installation. This will help determine how much material you’ll need, including tiles, grid systems, and suspension wires.
2. Gather Necessary Tools and Materials
For a successful drop down ceiling installation, you’ll need the right tools and materials. The basic tools include:
A measuring tape
A level
A chalk line
A saw (preferably a handsaw or hacksaw)
A drill with bits
A screwdriver
Wire cutters
A hammer
As for materials, you will need a suspended ceiling grid system, tiles or panels, suspension wires, anchors, and hangers. You can choose from various types of tiles (acoustic, metal, or mineral fiber) based on the room’s functionality and aesthetic.
3. Ensure Structural Integrity
Before proceeding with the installation, ensure that the ceiling structure is in good condition. Look for any signs of water damage, mold, or structural issues that might affect the grid’s stability. If any repairs are necessary, they should be completed before proceeding with the installation.
Installing the Grid System
4. Mark the Ceiling Perimeter
Start by marking the perimeter of the room where the grid will be installed. Use a chalk line to create straight, even lines along the walls. This line will serve as a guide to help keep the grid system level throughout the installation.
5. Install Wall Angle
The wall angle (also known as the perimeter trim) needs to be attached to the walls along the marked line. Begin by drilling pilot holes into the walls and securing the wall angle with screws. Be sure that the wall angle is level, as this will ensure a consistent installation for the rest of the grid system.
6. Install Suspension Wires
Suspension wires hold the grid system in place, so it’s essential to install them securely. Attach the wires to the ceiling joists at regular intervals, typically every 4 feet (1.2 meters). The wires should be spaced to ensure the grid system is stable and secure. Use adjustable hangers or wire supports to keep the suspension wires at the proper height.
Once the wires are in place, make sure they are taut and evenly distributed to maintain stability. Adjust the wire length to ensure the grid system will be positioned correctly according to the desired ceiling height.
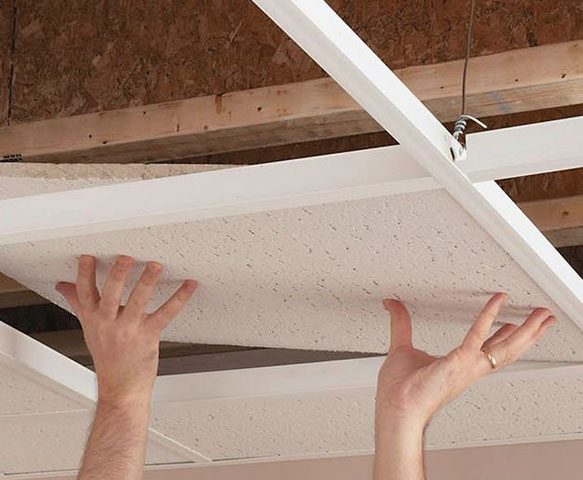
Installing the Grid System
7. Install Main Runners
Main runners are the primary support for the ceiling tiles and are the first part of the grid system to be installed. Starting from one side of the room, position the main runners parallel to each other along the suspension wires. The main runners should be spaced evenly apart and aligned with the wall angle.
Secure the main runners to the suspension wires using clips or hooks. Ensure that the runners are level before tightening everything in place.
8. Install Cross Runners
Once the main runners are securely in place, install the cross runners that will connect the main runners. These runners form the grid structure and will hold the ceiling tiles. Use a clip or hook to attach the cross runners at regular intervals along the main runners.
Make sure the cross runners are perpendicular to the main runners and form an even, square grid pattern. Double-check for levelness to ensure that the tiles will sit properly in the grid.
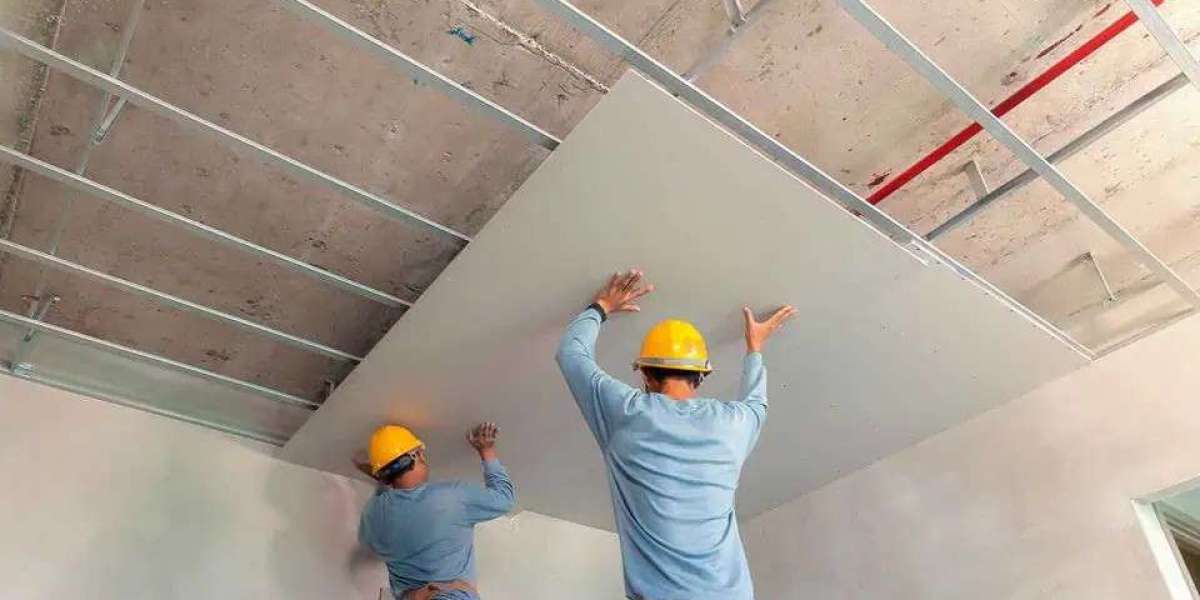
Installing the Ceiling Tiles
9. Cut and Fit Tiles
Now that the grid system is in place, it’s time to install the ceiling tiles. Measure and cut the tiles to fit any gaps along the edges of the grid. You may need to trim the tiles with a handsaw or utility knife to fit perfectly.
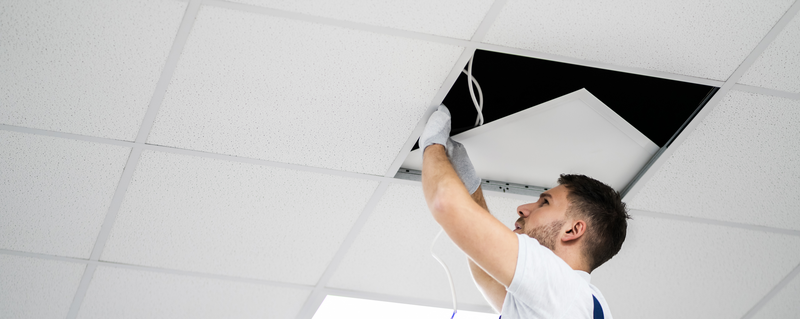
10. Install Ceiling Tiles
Once the tiles are cut to the proper size, start inserting them into the grid. Simply place the tiles onto the grid’s runners, ensuring that they rest securely in place. For acoustic tiles, be sure to install them according to the manufacturer’s recommendations to maximize soundproofing benefits.
Work your way across the room, fitting each tile into the grid system. If any tiles don’t fit perfectly, remeasure and trim as needed.
Final Adjustments and Clean-Up
11. Inspect the Ceiling
Once all the tiles are in place, inspect the ceiling for any gaps or areas that need adjustment. Ensure that the tiles are securely positioned and that the grid system is level and stable.
12. Clean Up
Finally, clean the room and remove any debris or dust left over from the installation. Carefully dispose of any leftover materials and tools, and check that the ceiling tiles are free from damage or scratches.
Why Choose PlasterX for Your Drop Down Ceiling Installation?
At PlasterX – Professional plastering and drywall work in Melbourne, we specialize in drop down ceiling installation and offer expert guidance and installation services. Our experienced team ensures that your suspended ceiling is installed with precision and care, using only high-quality materials that stand the test of time.
Whether you're renovating a residential space or outfitting a commercial area, we provide customized solutions to fit your unique needs. Our commitment to excellence ensures that your ceiling not only looks great but also functions efficiently.
Contact PlasterX today to discuss your drop down ceiling installation needs and get started on transforming your space.